First thing is the template. I take some time and accurately draw my color scheme fullsize. I use AutoCAD but any program that allows you do draw to scale will work fine. With AutoCAD you can plot to a DWF file, and then open with another bit of free software called Autodesk Design Review. In Design Review you can then print your drawing as tiled images so you can get full size images on 8.5”x11” paper.

Next I use a spray contact adhesive to stick the plan to heavy paper for the templates.

Now we have to let this dry a little bit so the paper doesn’t peel off the heavy paper. Don’t forget to label your colors so you get the scheme right!
While that is drying we can do some preparation that needs to be done before we do the major covering job. For all my covering I use the tools in the picture, two covering irons one with a sock and one without. The one with the sock is set to about 125 degrees C, and the other is set as hot as I can get it. A small trim tool for tight places, a heat gun which I didn’t use at all for this job. Various cutting tools, rulers, weights etc.

I always do my covering after hinging, so I do my gap sealing and some other trim details before I do the major pieces.
To do the gap sealing you first take a piece of white and crease it in half down the length. Make sure you have plenty of extra to cover the entire gap.

Then push that piece into the gap, and use the trim seal tool to iron it neatly in place.

Then using a sharp blade, trim the excess to be flush with the surface of the part. As a note, I gap seal both top and bottom so my hinge lines are completely weather proof.

Next apply the trim to the inner face of the elevator.

Thats all the trim work that I need to do on the stab. I don’t bother too much with the very root, as its all covered up once mounted onto the fuselage.
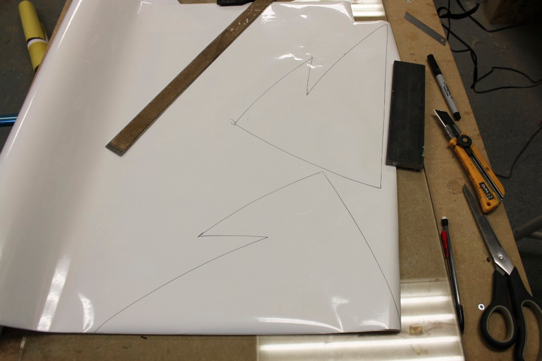
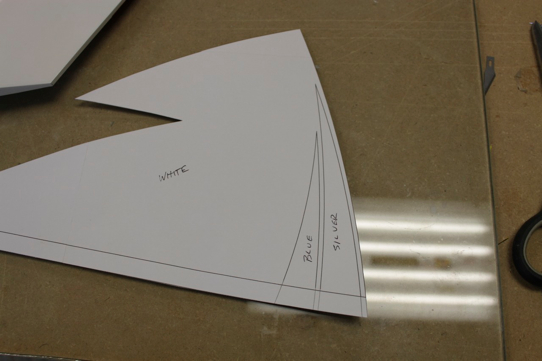
By now the templates should be dry. So you can cut out the individual pieces. Notice that I did not cut out the small silver and blue sweeps on the bottom right. This is because this area is going to be all white, so I will first cut the white covering out with the template, then cut the sweeps from the white portion after.

Now trace the white profile onto the covering. Do both sides at once to save time.
Now I freehand cut with scissors the white parts out. Since they will be the first color on you must leave an allowance for the next colors to overlap. About 2mm or 1/8” is fine.

Now in order to properly locate the colors I make a second set of template trimmed to match the stab size.
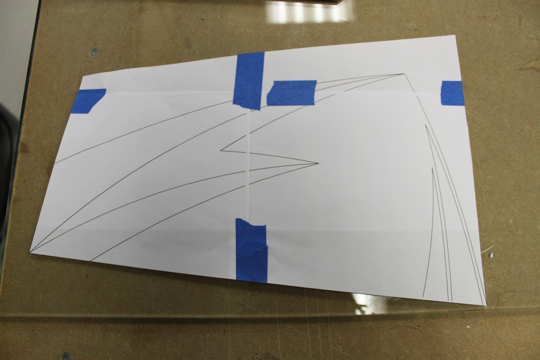
I overlay that on the part, and make small pin holes to give me reference points to place the covering.

I then locate the white and yellow (yellow is cut the same way as white), as they are the two bottom colors of the scheme.

I use some masking tape around the tip to protect the bottom colors from having adhesive stuck to them. After you trim the tip colors off then you just pull this off. I find that sometimes, especially red and blue leave a lot of adhesive when they get trimmed away if you accidentally heated past where you will trim.

Then its time to cut the red. Since the red overlaps it needs an exact cut. Its best to use a piece of glass and a sharp blade to trace along the template. Its important that this cut is clean as you will see it on the finished product.

Now apply the red using some guides to help with the alignment.

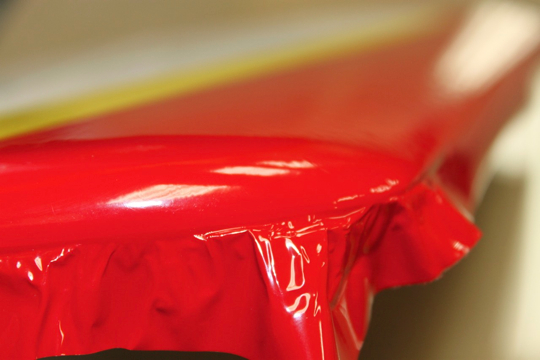
Now you have to pull the covering around the tip. I use my hot iron to help with this. A lot of patience, and allowing the covering to stretch makes the tip come out wrinkle free.
No trim the red and yellow along the masking tape, and peel the tape off. Be careful not to cut too deep into the bottom covering. You should be left with a nice straight line. I did this one freehand.

Next I trim the LE covering. Using the edge of the glass and a sharp blade you can get a nice straight cut where you want.
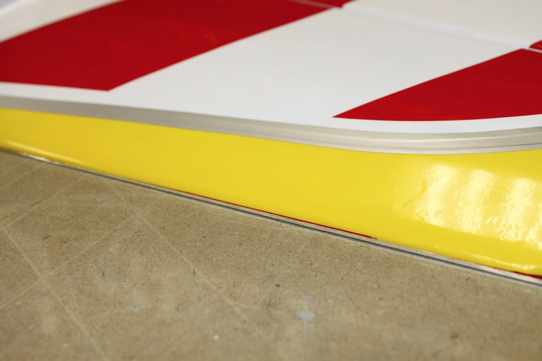
Finished LE

Now I do the blue, this piece is small and hard to keep still. So I cut an oversized piece and peel off the backing. I spray a little water onto my glass, lay down the covering and squeegee out with a card all the water. This sticks the covering down and allows you to make accurate cuts without it moving around.
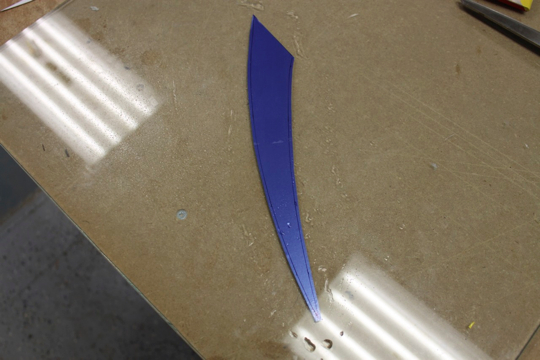
Now iron the blue in place using some guides to keep it aligned.

Next cut the silver on the glass, and aligned and iron down much the same as the blue. The silver is the final piece so every side needs to be accurate as you will see all of them.

Now it is time to cut the little sweeps out of our white template.
Using the techniques above, cut the sweeps on the glass and apply them to the stab.
Now we have to split the covering down the hinge line. To do that I first fold the hinge line to give the covering a bit of a crease.

Then with a sharp blade, I split the covering down the hinge line. I keep the surface folded a bit to help guide the blade down the line.

Now use the trim seal tool to seal down the leftover in the hinge line.
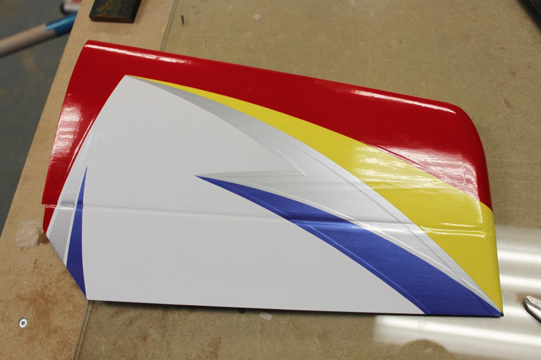
Voila, you now have a cool looking stab :)

This is a quick way to get a cool scheme. All told I can do two stabs like this in about 3 hours once I have the drawing made in AutoCAD. Usually doing the drawing takes as long as covering!
Chad
1 comment:
That's pretty slick #1!! :-)
Post a Comment